2 Advanced Techniques for canyoning that are not commonly used. The Stone Knot: A Euro-Application, where you build a Retrievable Handline with an Intermediate Point and The Munter Pop to quickly pass a knot while lowering a load. These techniques could be useful for guides or other canyoneers to add to their toolkit.
The Stone Knot: A Euro-Application
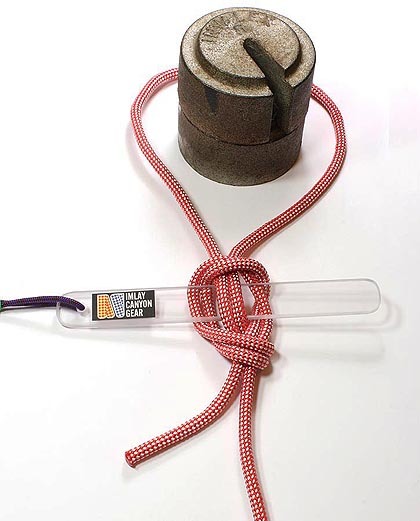
Stone Knot Background
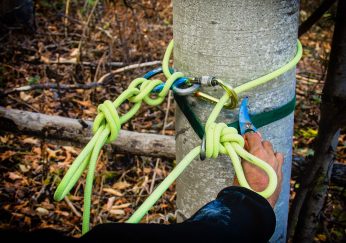
The Stone (Stein) Knot is well-known in the American canyoneering community, but it is relatively unknown/unused in the European scene. This isn’t so surprising since canyoning in the US occurs in mostly dry canyons, and there is a heavy reliance on natural anchors. The Stone Knot allows American canyoners to quickly create two fixed, independent strands around a natural anchor, increasing the speed of their team. Moreover, the take-down is as simple as removing a carabiner and rappelling double-strand.
Its use has become even more popular with the creation of the Fiddlestick, allowing expert canyoners to carry less rope and to eliminate rope grooves. But why would a Euro-canyoner bother using such a knot or techniques? Fixed rappel lines are generally a bad idea in water-filled canyons; bolts are used instead of natural anchors; and rope-cutting is far more likely than rope grooves.
I could expound upon the usefulness of this knot in exploration style canyoning, but that would only be useful to a select number of people. As a guide and technician who works in Euro-style canyons, there’s one situation that I find myself using a Stone Knot quite regularly, and that’s what I want to share with fellow guides.
Retrievable Handline with an Intermediate Point – Self-Belayed
There’s a few ways to tackle a retrievable handline with an intermediate point as one person. The one I’m going to talk about is the method of isolating the handline rope in two strands: rappelling on one strand, and threading the intermediate points with the other.
The stone knot is useful in this scenario for isolating the strands. The classic techniques for isolating the strands are somewhat cumbersome, and they take longer to realize.
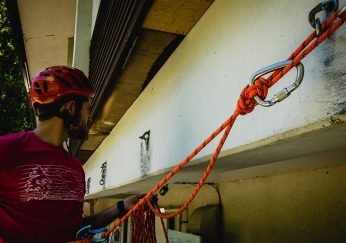
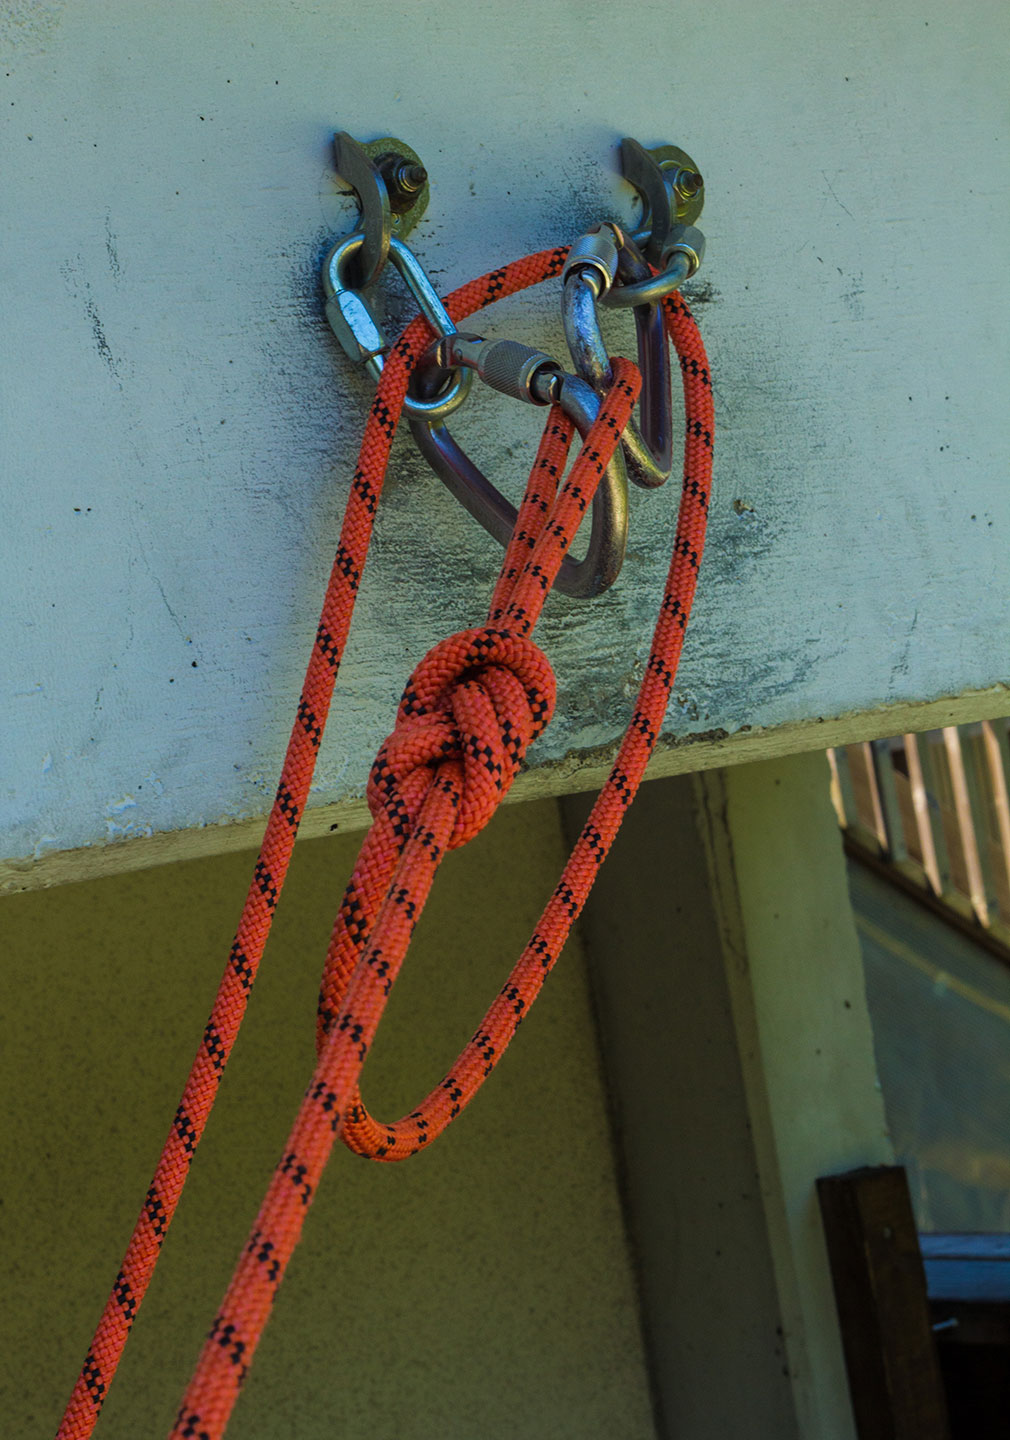
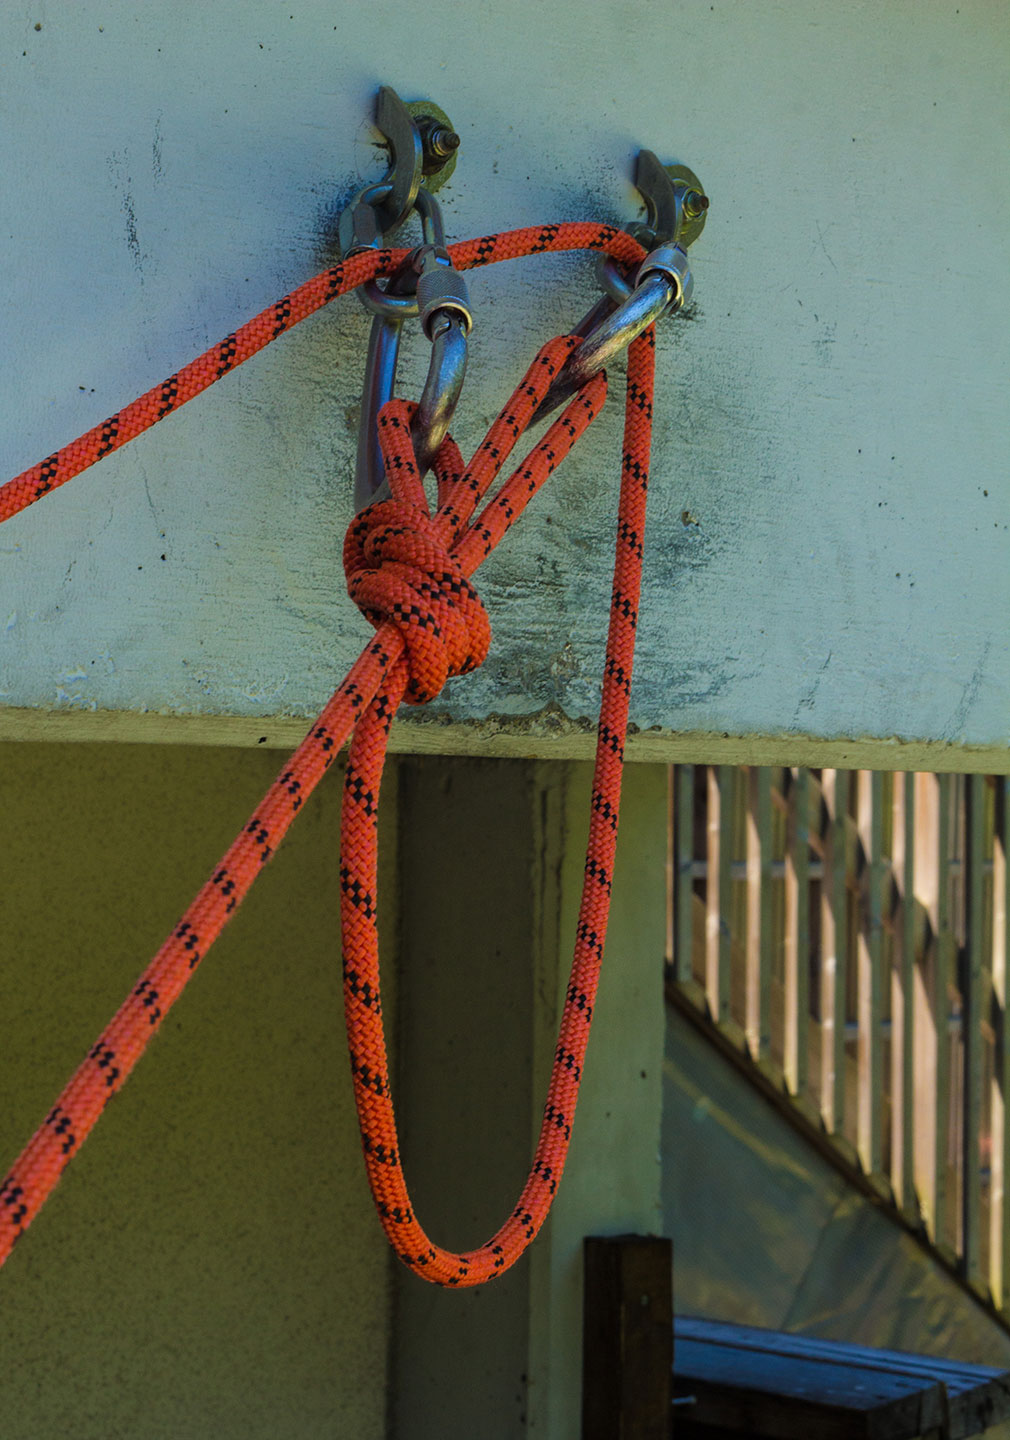
After threading the bolts, the first classic technique is to tie a Figure-8 on a bight and clip the loop to each bolt with a carabiner. (My apologies for not having rap rings to illustrate the start of a well-rigged handline!)
Or if you want some equalization, the other classic technique is to tie a Double Figure-8 and clip each loop to a bolt with a carabiner.
Using the Stone Knot
What I propose is replacing these classic techniques with a Stone Knot. The Stone Knot is faster to tie, requires only one carabiner, and easier for a beginner to take down (this is the most important advantage!).
The Stone Knot has multiple tying variations, including the upward Figure-8 version and the upward Overhand version. Personally, I prefer the upward overhand version. For instructions on how to tie the Stone Knot, visit Tom Jones’ Canyoneering USA Tech Page dedicated to the Stone Knot.
While I won’t expound upon the exact steps of rigging a retrievable handline with an intermediate point as one person (that’s what training is for!), most professionals will easily recognize how to incorporate the Stone Knot into it.
1: Start by replacing the classic techniques for isolating the handline strands with the Stone Knot.
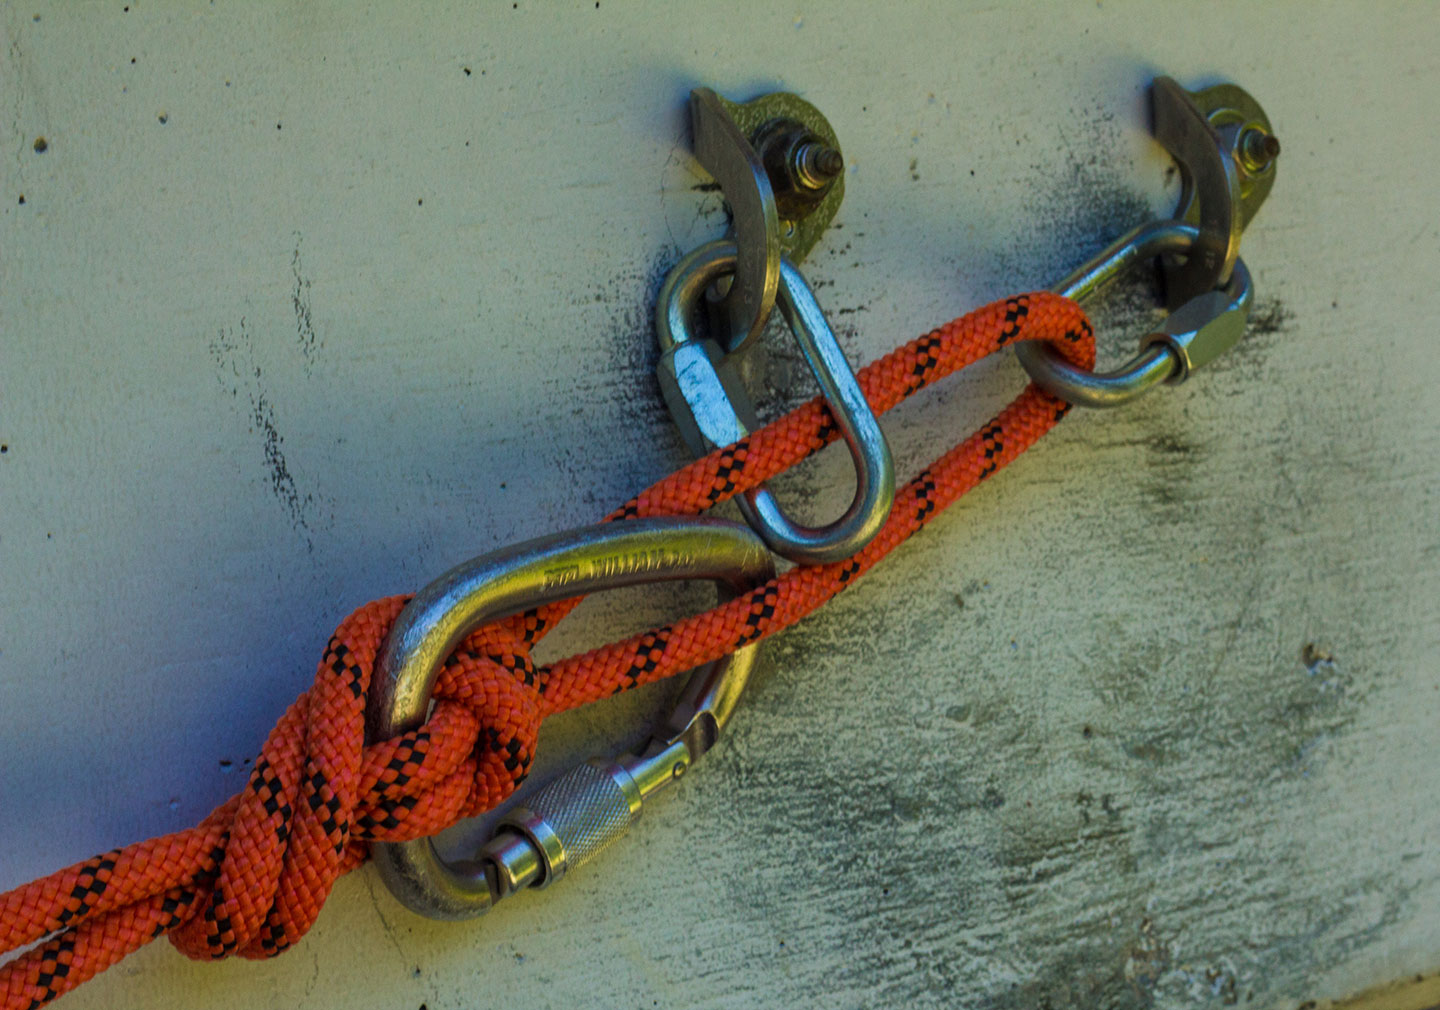
2: Proceed as usual, threading the intermediate points with one strand, and rappelling on the other strand.
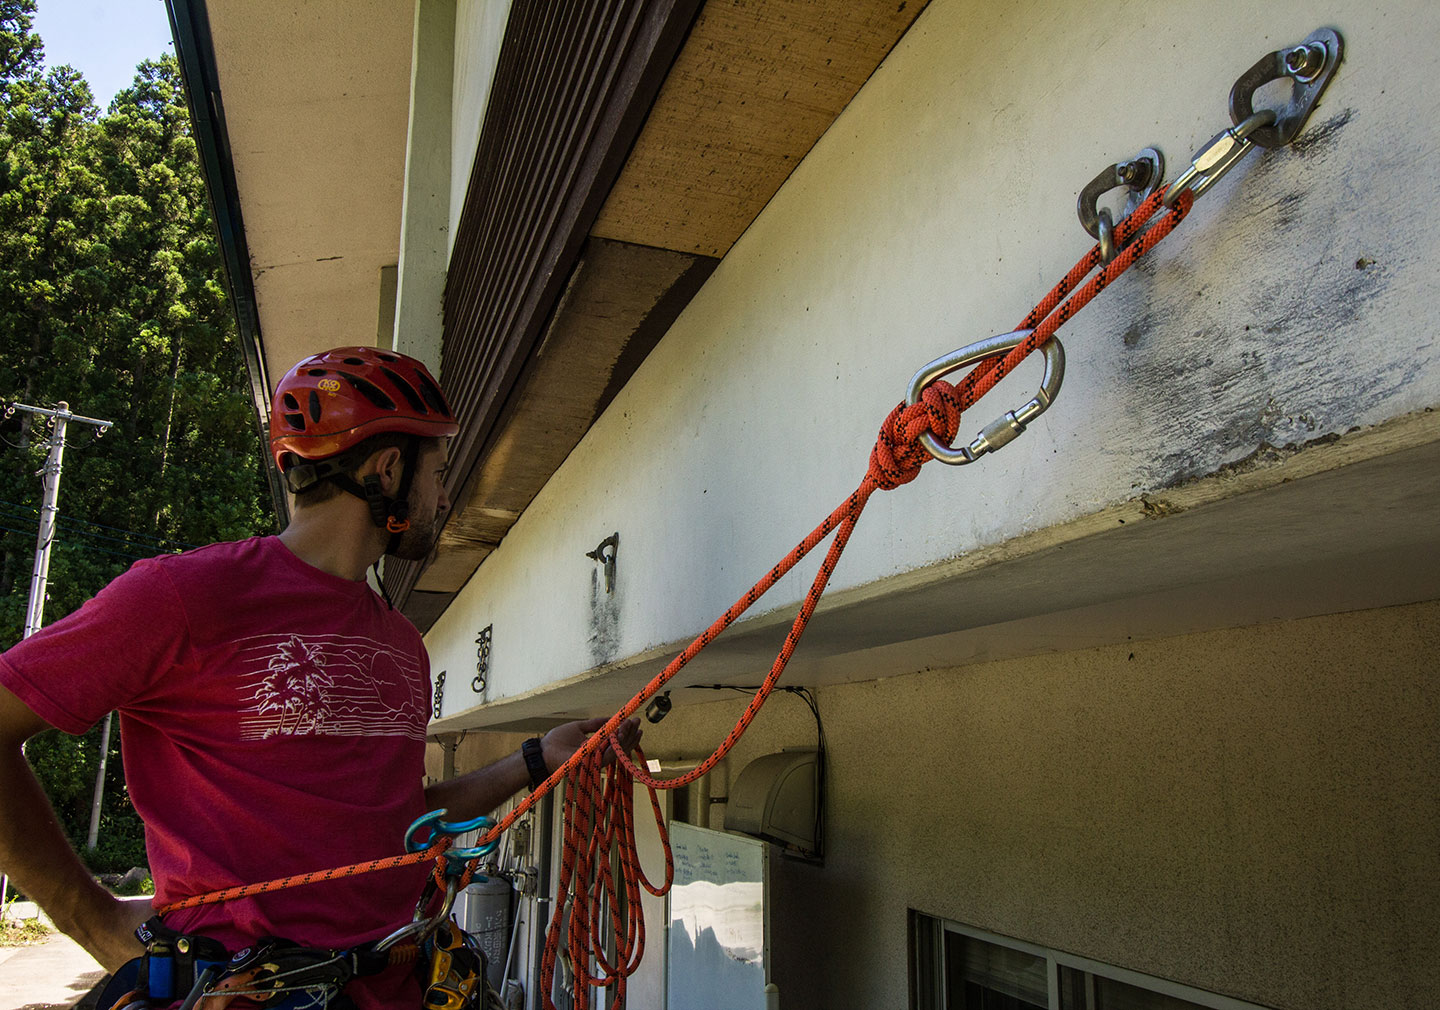
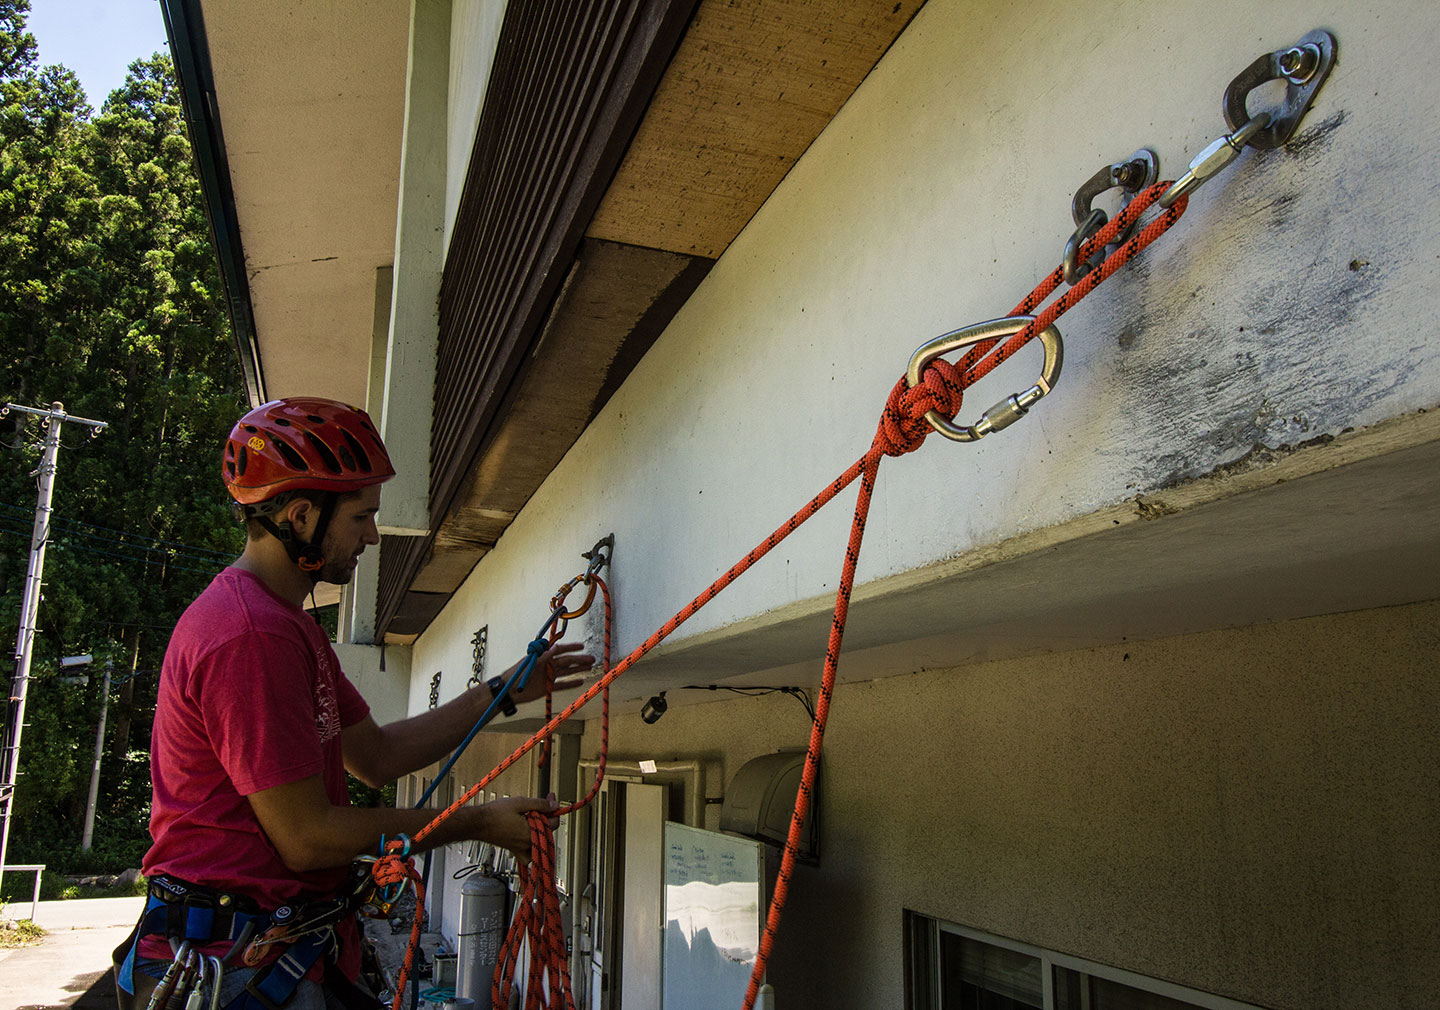
3: Secure the handline to the belay, and ask your clients/teammates to proceed.
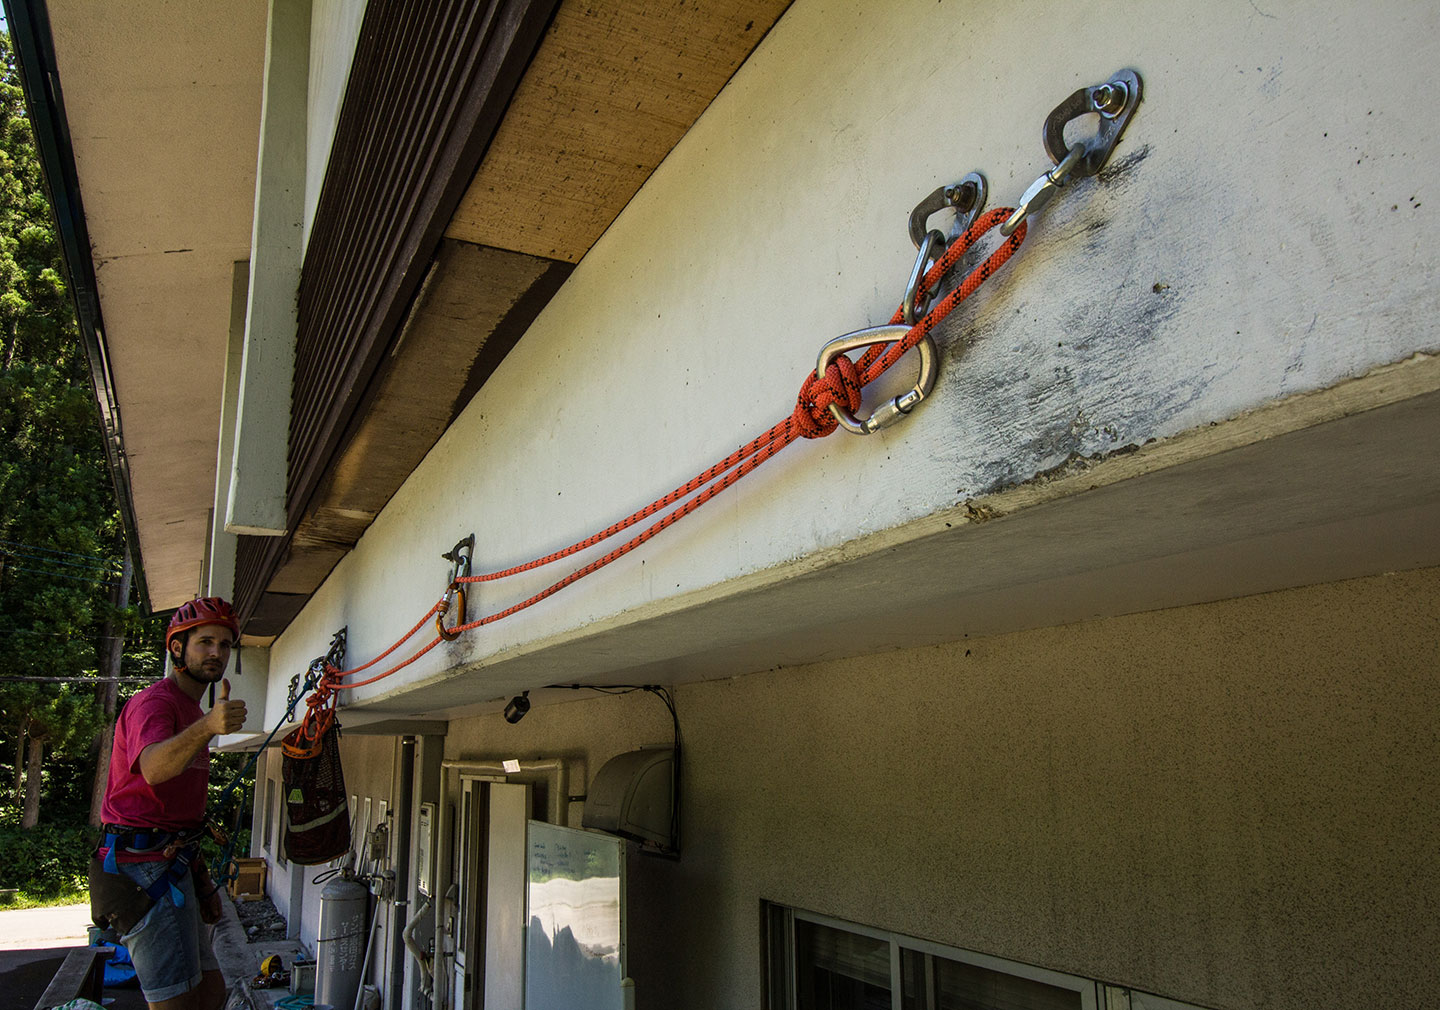
4: Ask the last teammate/client to “remove all the carabiners” as they progress along the handline. Have them wait for a second after they remove the Stone Knot carabiner, so that you can re-tension the handline. The beauty of the Stone Knot is here: once the carabiner is removed, the knot simply falls apart, and the last teammate does not need to untie anything!
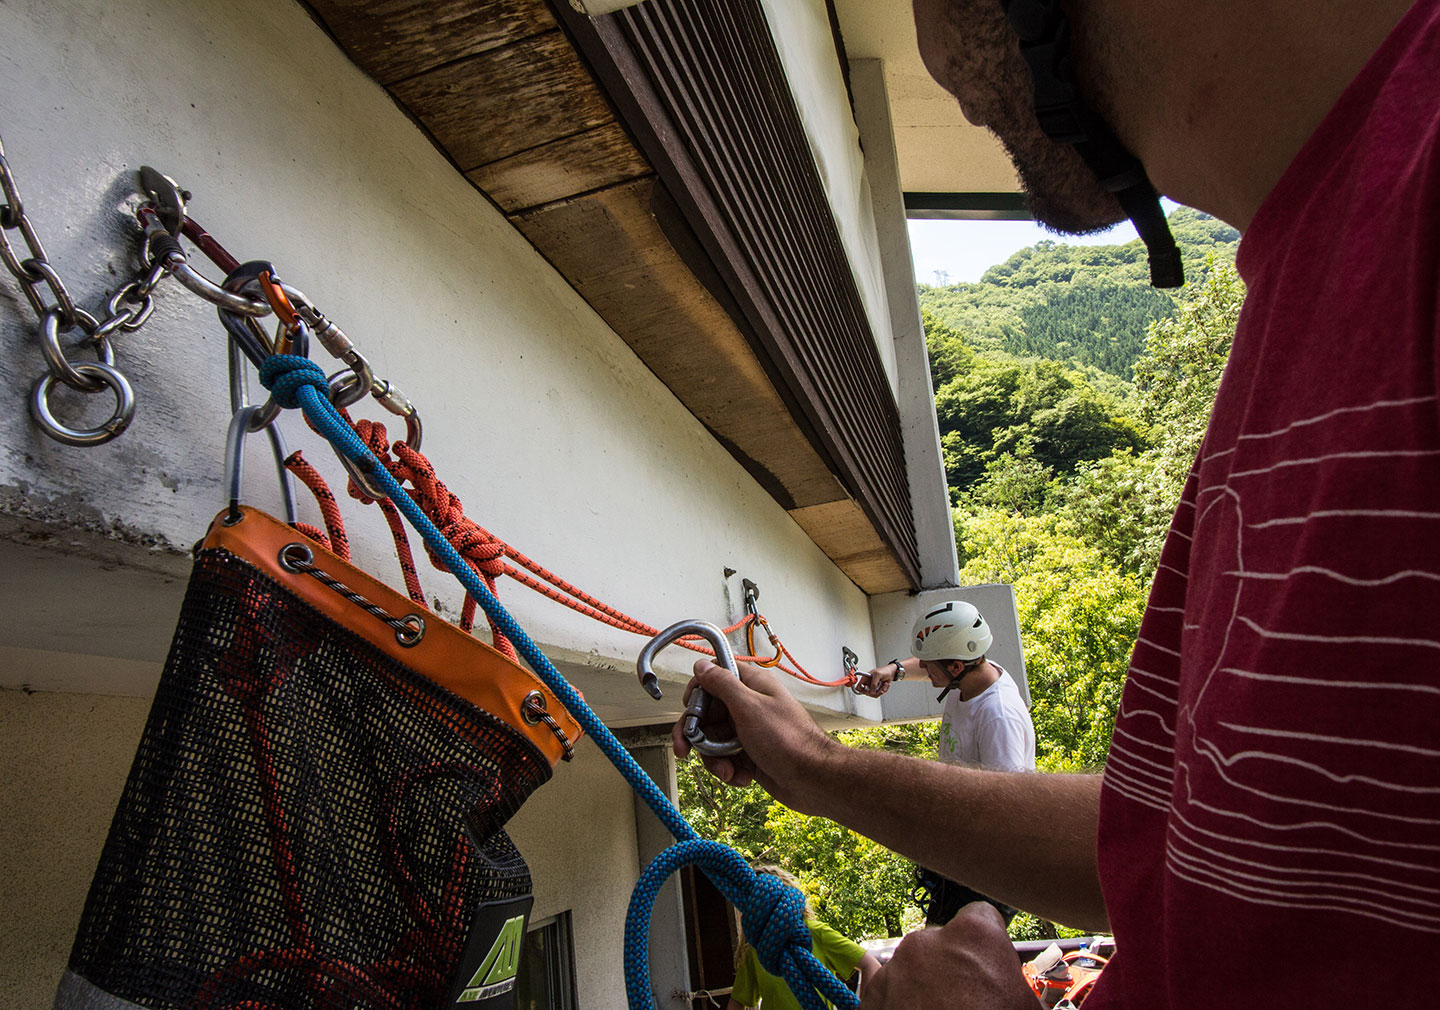
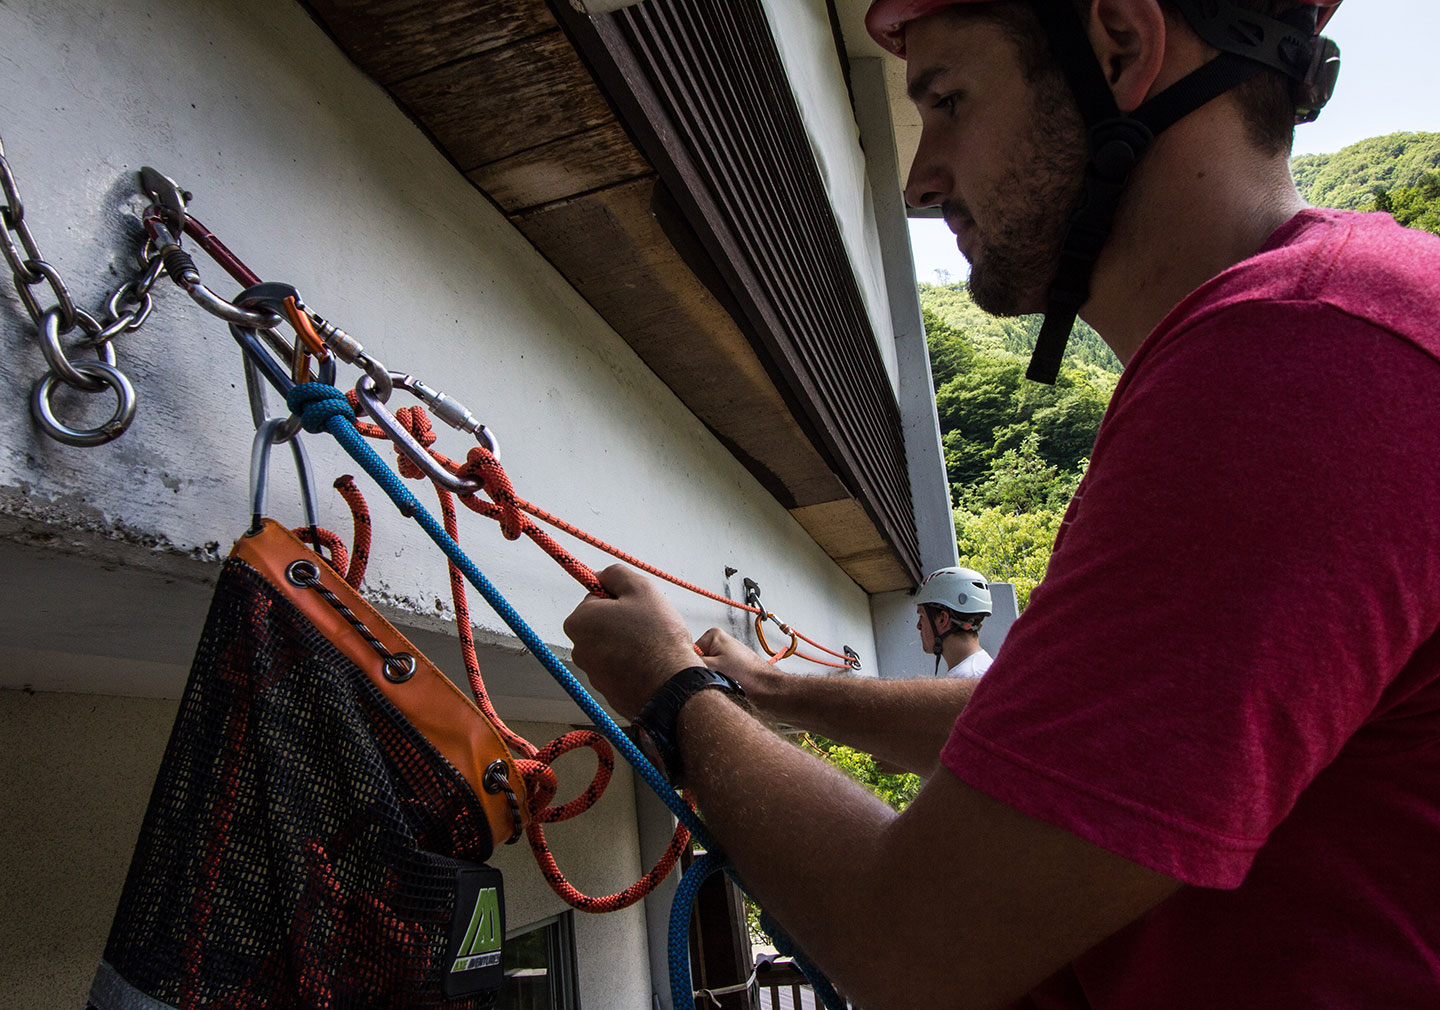
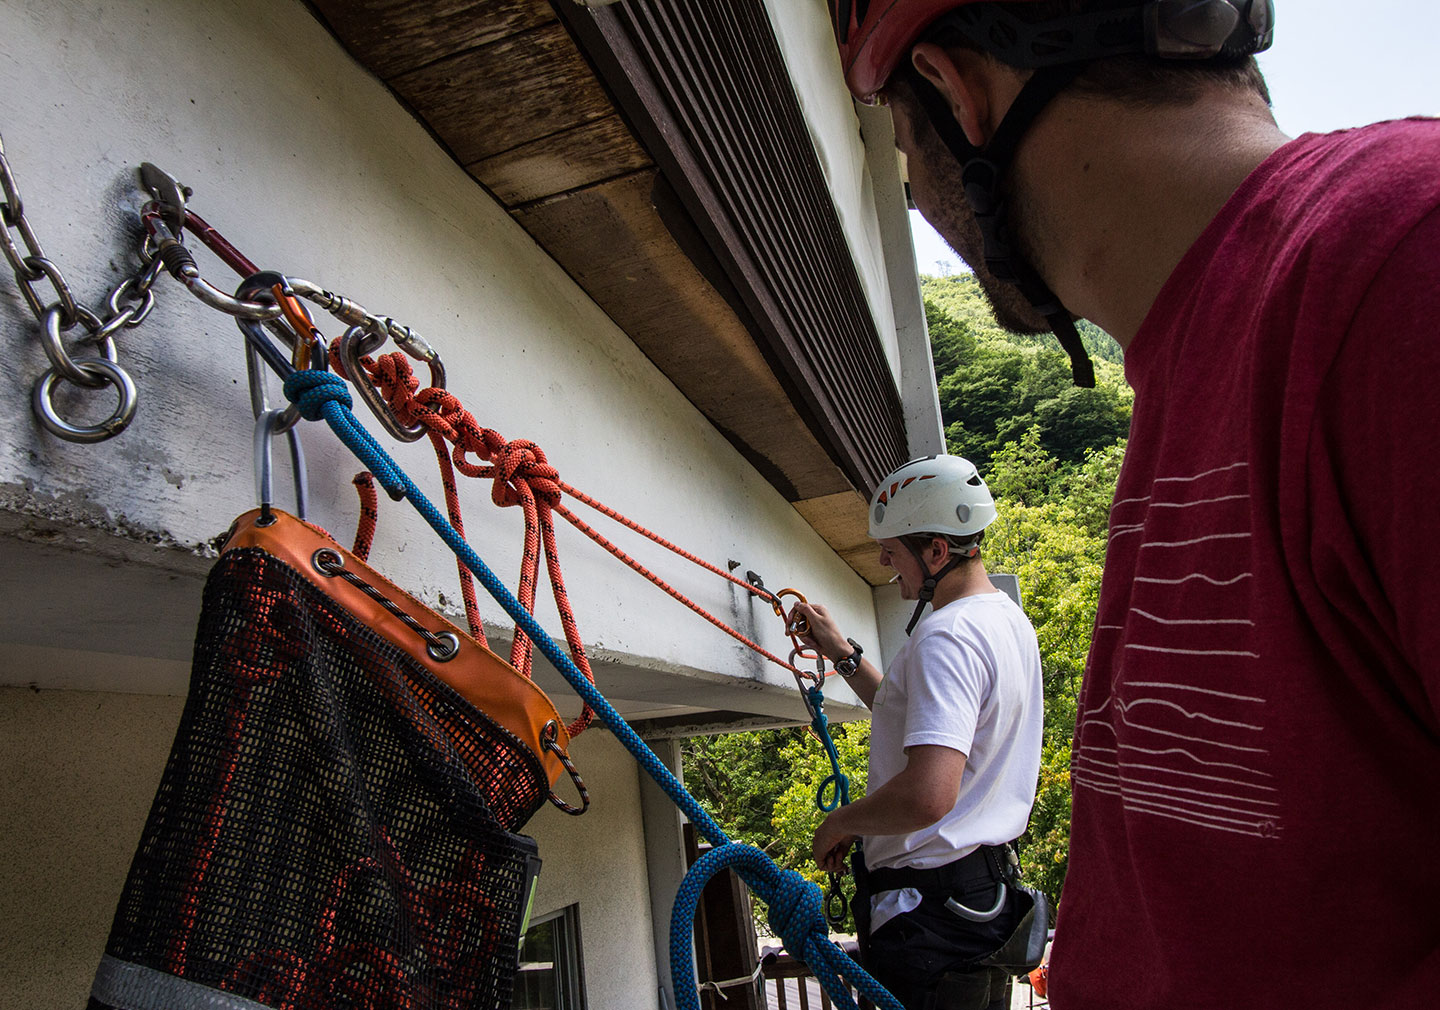
5: After the last teammate arrives at the belay, recover the handline rope! Voila!
The Munter Pop
This gem is called the “Munter Pop”, and I first heard about it a few years ago when reading Climbing Self-Rescue: Improvising Solutions for Serious Situations by Andy Tyson and Molly Loomis. It’s a great read, especially if you’re a climber, and you can buy it in paperback or digitally on Amazon.
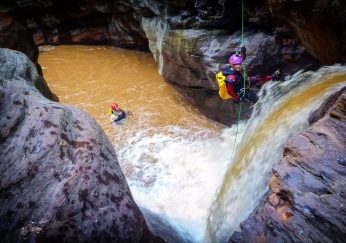
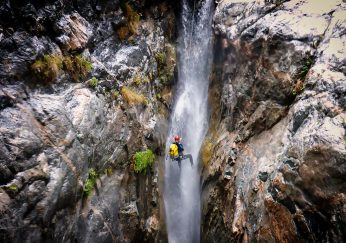
The purpose of the Munter Pop is to quickly pass a knot while lowering a load. As canyoners, our rappels are often in or near waterfalls, and it is important that we can always execute techniques with efficiency. For passing knots, the Munter Pop is one of the fastest techniques I’ve come across (and it’s pretty fun too).
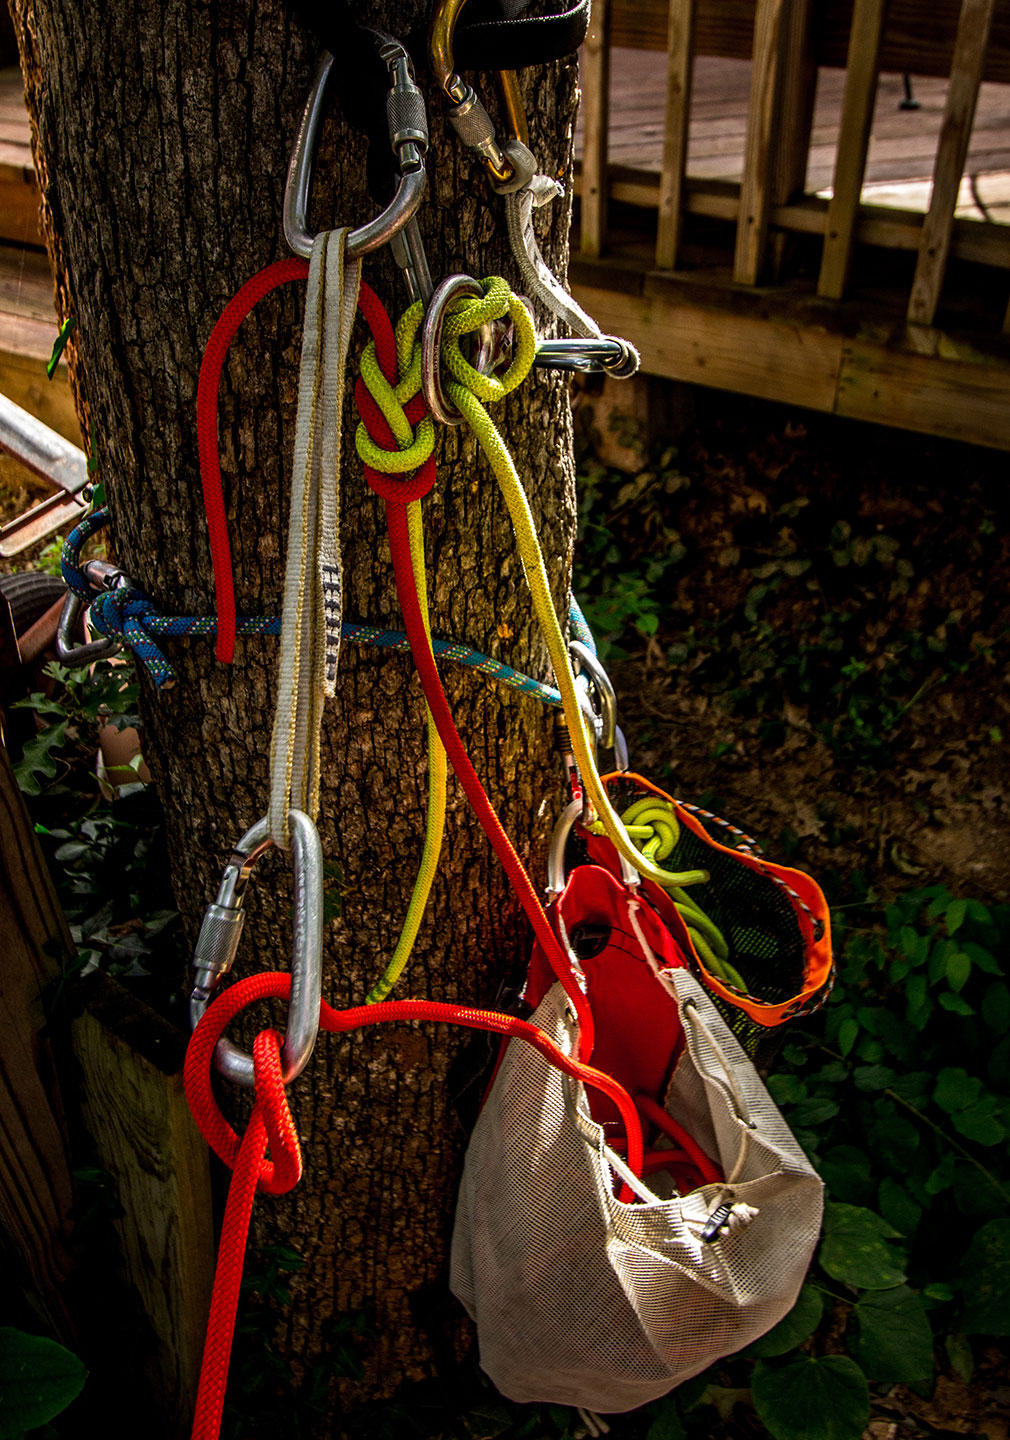
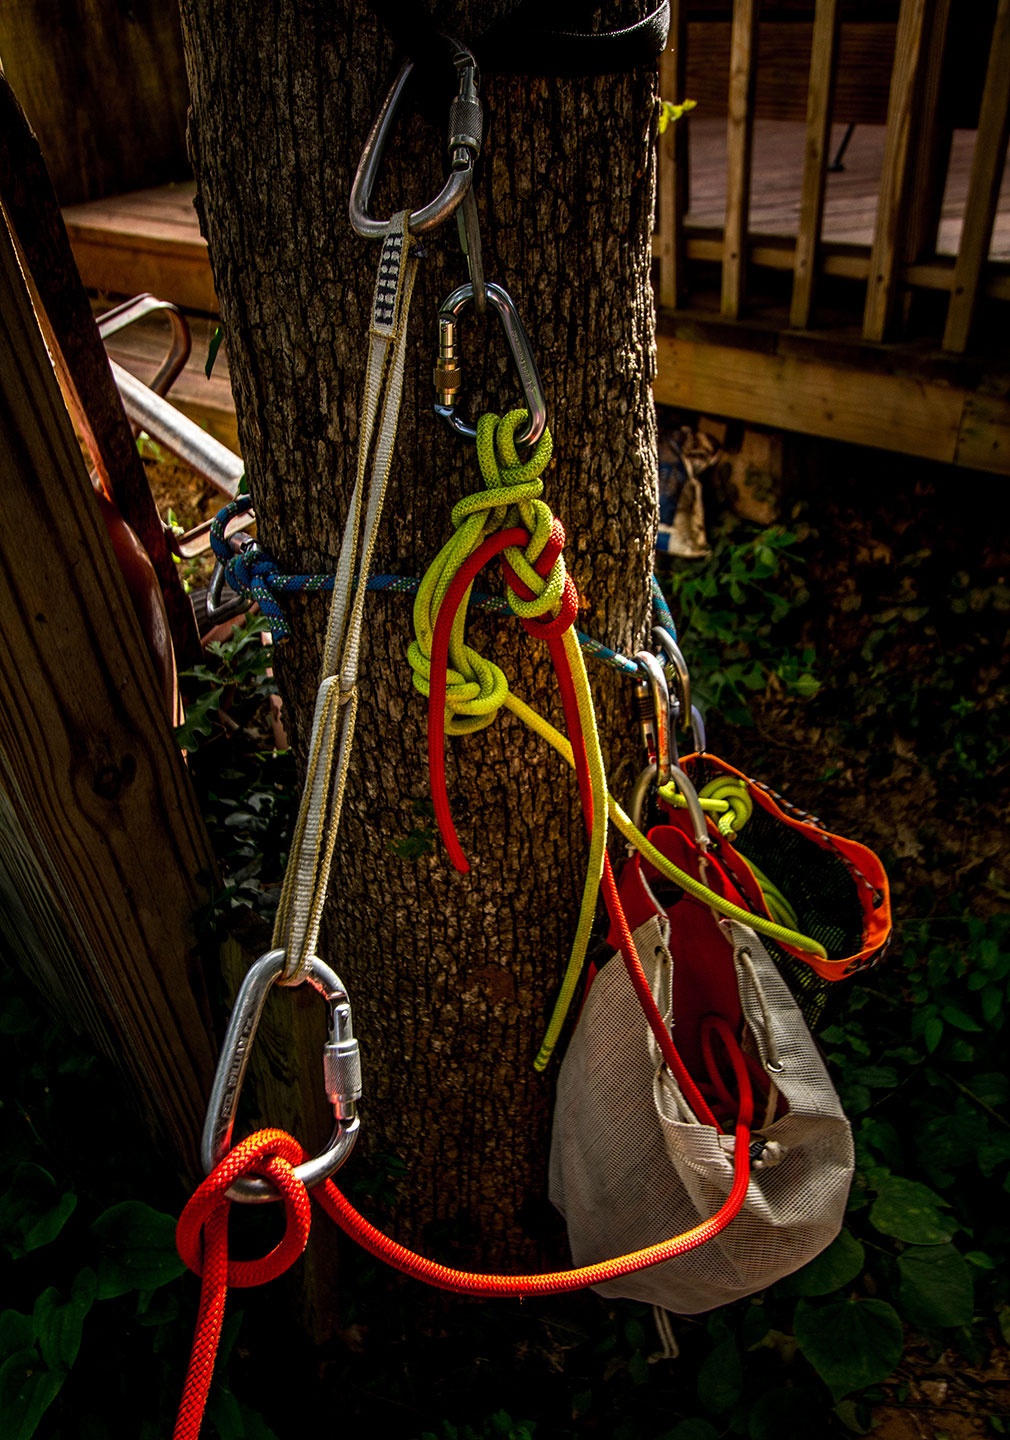
The Munter Pop requires pre-rigging before execution, so this is not something you do on the fly. Fortunately, you usually know when you have to pass a knot, so you can set this technique up prior to lowering someone. Below are some examples of when you might need to pass a knot while lowering:
- You’ve accidentally cut the rope and had to isolate the core shot with a knot. One of your teammates is not trained to pass knots on rappel, so rather than teach them how, you opt to lower them to reduce risk.
- Your teammate has been injured, and you’ve come upon a two-pitch rappel. The lengths of your ropes are only one times the length of each pitch. Rather than pass a rebelay with a victim, you can lower the victim all the way to the ground in one go.
There are a few things to note when watching this video.
- I used a releasable figure-8 block on Rope 2 as my releasable system. You could choose another releasable system (e.g. MMO), and it would work the same way. Just remember your sling must reach well past the system and knot.
- I am using semi-static (EN 1891, type B) ropes in this video. Semi-static ropes are rated for an 0.3 Fall Factor. There is a small amount of dynamic loading when the Munter pops, but this is negligible since my rope can absorb a much bigger force than this small pop. Nonetheless, I would think twice about using this technique with ultra-static dyneema core ropes. (Anybody out there have an enForcer?)
- I am lowering a load of approximately 80kg (175lbs) in this video. I have not tried a 2-person load with this technique, and I am unsure how the Munter Pop would perform. Further testing is needed.
- Beyond this technique, I would never recommend opening a carabiner under load. You should thoroughly inspect the HMS carabiner anytime you perform this technique.
- Watch your fingers! I can’t stress this enough. This technique could easily break someone’s finger (or maybe a hand). Don’t do it unless you’re absolutely sure you can keep yourself free from the pop.
Update: Fokke Wiersma pointed out that it would be better practice to reattach the quickdraw to the small hole of the figure-8 after the overhead lock is removed. This would reduce the chance of the rope detaching completely from the figure-8. I have uploaded a new version of the video with the better technique shown.
