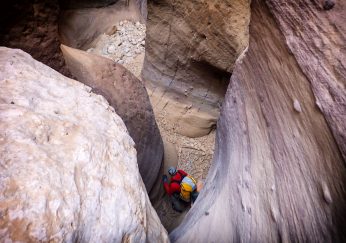
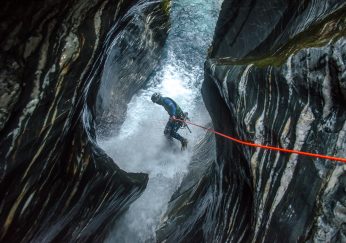
In October 2015, I’m heading to Taiwan for Part I of exploring canyons with an international group of canyoners in the Taiwan Canyoning Expedition 2015/2016. Taiwan first captured my attention a few years back when I laid eyes upon a magazine article about Japanese Shower Climbers who explored the Qia Kan gorge. The images were both compelling and intimidating, and I knew I had to go there one day.
In the time leading up to this 2 part expedition, I’m hoping to publish a series of blog posts about the techniques we plan to use while in Taiwan. Expedition techniques differ from everyday canyoning techniques because exploration is full of the unknown. We do not know what challenges we will meet, and more importantly, what resources and time we will need to overcome them. Expedition techniques, therefore, are carefully crafted to be time-efficient and to conserve all available resources in order to meet the next challenge ahead. Too little, and you will be stranded. Too much, and you will be exhausted. Your techniques must be fast, efficient, and light if you want to succeed.
The Natural Anchor Bag is a fantastic example of a simple and efficient expedition technique. The idea is to pack your anchor material, like webbing or strong accessory cord, in the same way you pack your rope bag. And just like the rope bag, you only dispense as much anchor material as necessary in order to achieve your goal. Couple this concept with a quick-to-tie knot, and the Natural Anchor Bag becomes an indispensable time-saving tool.
In the video, you’ll see two parts: How to pack the bag, and how to use the bag with a Frost Knot.
Packing the Bag
Packing the bag is a simple concept. The video shows me using an empty throw bag as the anchor bag. Of course, it isn’t require that you use an actual throw bag. Just about any small bag with a top opening will suffice. The main reason I choose an actual throw bag is because I might use the anchor bag as a throw bag. While the anchor material is non-floating, my empty throw bag includes a small piece of floating foam at the bottom of it, which will help if I must throw it to someone in water.
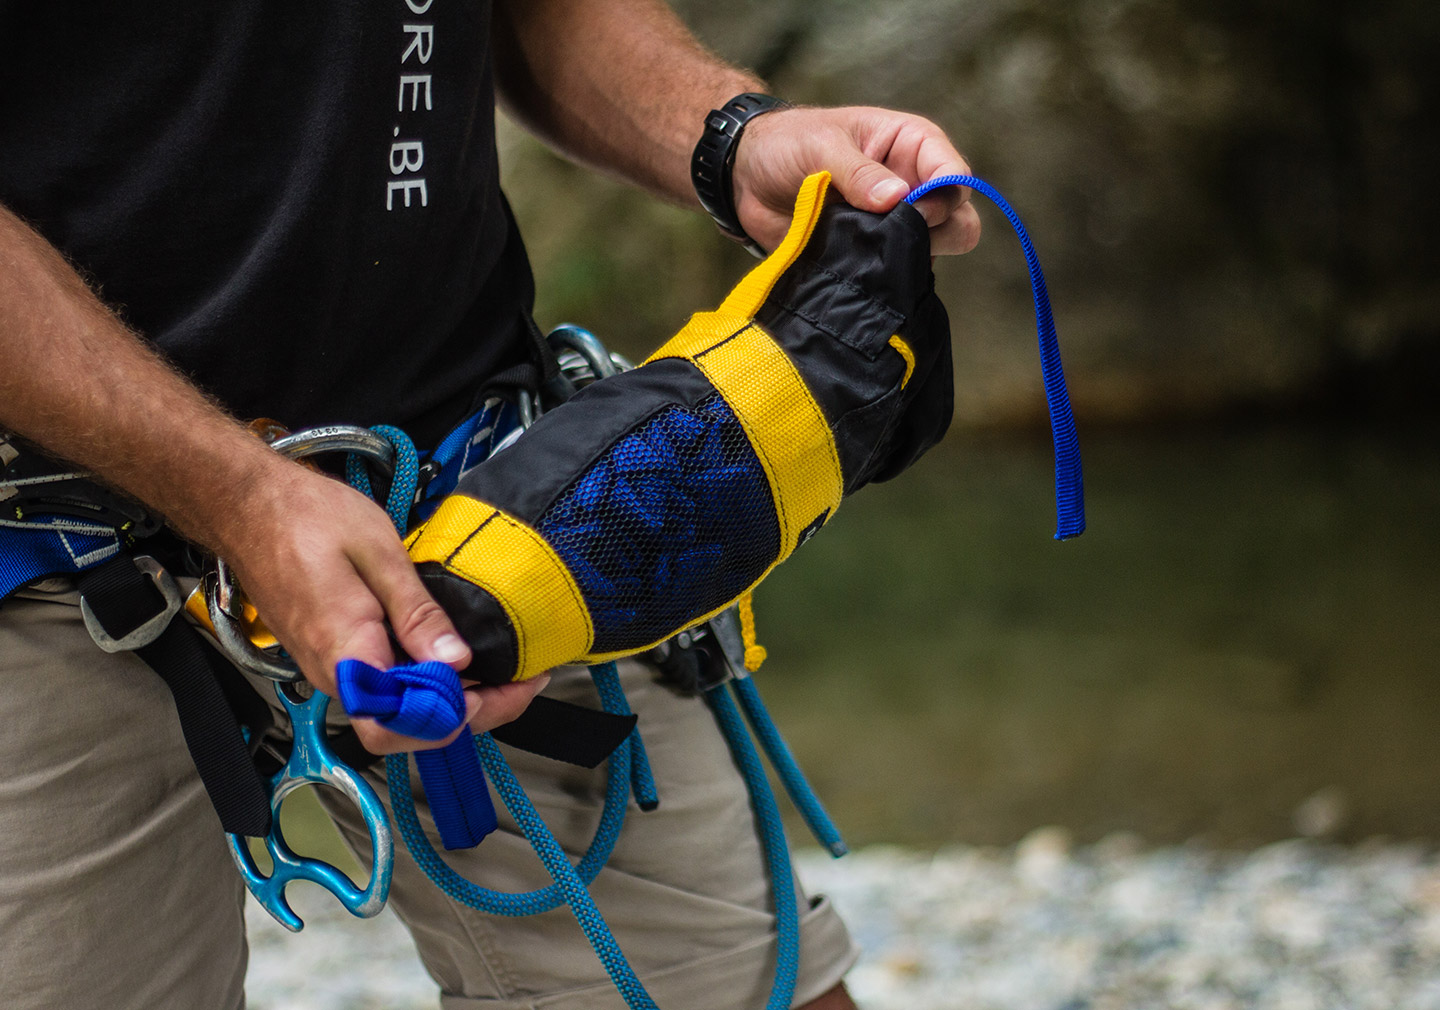
The bag itself has a volume of approximately 1 liter. With 1” tubular webbing, I can fit about 25 meters of webbing in the bag. I also have a larger 5 liter floating kit boule bag that I use for this same purpose, and naturally it holds a lot more material. If you really want to maximize the material-to-space ratio, I would recommend using 5mm Pure Dyneema as your anchor material. Dyneema has a “Specific Gravity of 0.97 which means it floats in water” (http://www.marlowropes.com/dyneema.html). For the Taiwan Canyoning Expedition, we aim to use 5mm dyneema throughout both parts of the expedition.
Using a Frost Knot
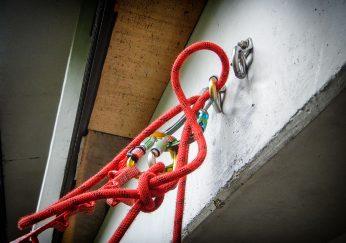
The Frost Knot was first introduced by Tom Frost as the knot of choice when tying your own étriers for aid climbing. Today, in canyoning, its use is mostly promoted by Rich Carlson from the American Canyoneering Academy (http://www.canyoneering.net/). The Frost Knot should only be tied with webbing; it is not appropriate to use the Frost Knot with 5mm Pure Dyneema!
The knot itself is very interesting when using a Natural Anchor Bag, as it does not require you to tie any preliminary knot before threading the anchor. You can thread the anchor, and then tie the knot after. Contrast this against the standard Water/Tape knot, which would require you to tie a simple overhand before passing the webbing around the anchor, and afterwards re-thread the simple overhand to form the Water/Tape knot. I would estimate using the Frost Knot will save you about half the time compared to the standard Tape knot, all of which adds up quickly when you must create a lot of anchors.
The other benefit of the Frost Knot is that it creates two places to attach to: the big loop around the anchor, and the small loop formed under the knot. The small loop is the focal point of the anchor and the logical choice for the rapide maillon (as shown in the video). The big loop can be used for attaching yourself, your bag, or a handline. By attaching things this way, you create ‘space’ and reduce anchor clutter. Once again, contrasting this idea with the standard Tape Knot which forms a single loop, you can see the advantage. Attaching many things to a single loop and weighting them in the same direction causes everything to slide into a single point, creating clutter or worse, “pinching,” which can make things difficult to unclip or release! The use of a Frost Knot can help alleviate this problem.
The Frost Knot does have its own disadvantages though. The most important of these is the lack of redundancy, and I’m not talking about the anchor object itself. If you tie the knot incorrectly or the webbing runs over a sharp point, the possibility of complete anchor failure is very high. Therefore, I personally do not use this knot outside of an expedition context. If you’re creating a single anchor point that someone else may use frequently, it is always better to tie two independent loops around the object and anchor off of these.
And lastly, and this is about the video only, I left out tightening the rapide maillon down with a wrench at the end, but it’s worth mentioning that you should ALWAYS do this. Like carabiners, maillons are stronger when they’re closed, so take care to make sure they don’t accidentally open.